Upp is a set of business instruments which can be used separately or together.
- Orders: deals and clients management. Data is stored in "Businesses"
- Money: financial accounting. Data is stored in "Wallets"
- Inventory: warehouse and assortment accounting. Data is stored in "Lists"
- Planning: schedules and calendars. Data is stored in "Schedules"
- Docs: invoices, estimates, contracts etc. Data is stored in "Companies"
- Tasks: memos and todos
As you can see on a diagram above, Upp tools are interconnected. For example, you can add payments and expenses (Money tool) within the order (Orders tool).
The Dashboard
When you open your Upp app you see the Dashboard.
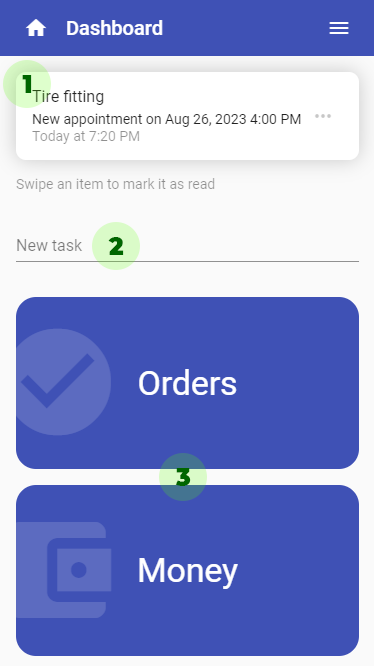
- At the top you'll get notifications (they are also sent by push if you allow)
- Next there is a task manager area. You can quickly create memos and todos here
- And finally you have several large buttons to access corresponding Upp tools: Orders, Money and so on
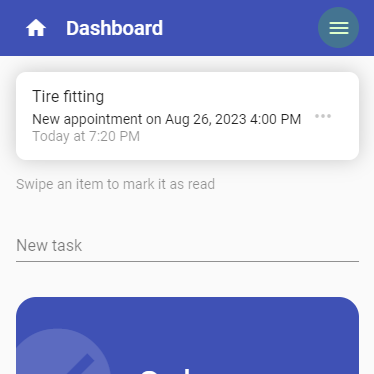
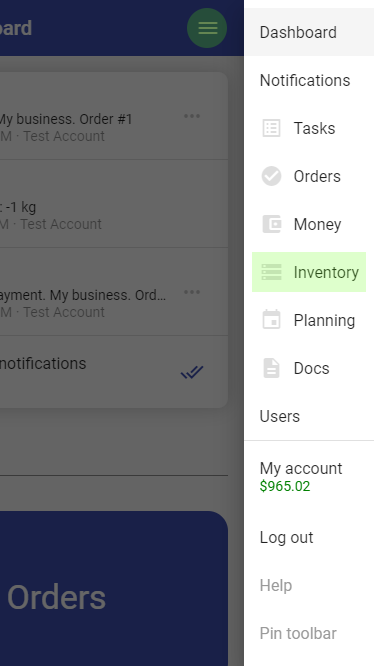
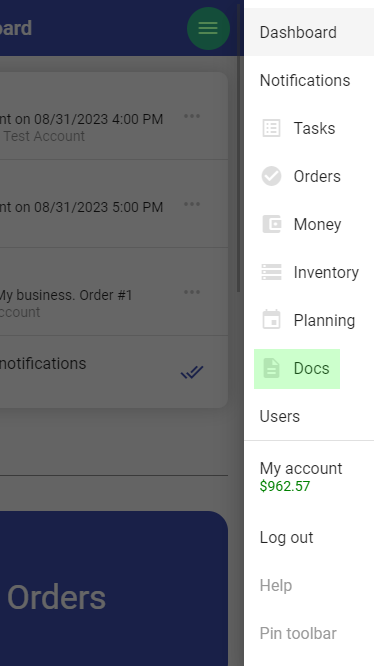
Main menu
The main menu is always accessible by pressing the button with tree lines in the right top corner:
Here you can navigate to your account settings or any Upp tool:

Tasks
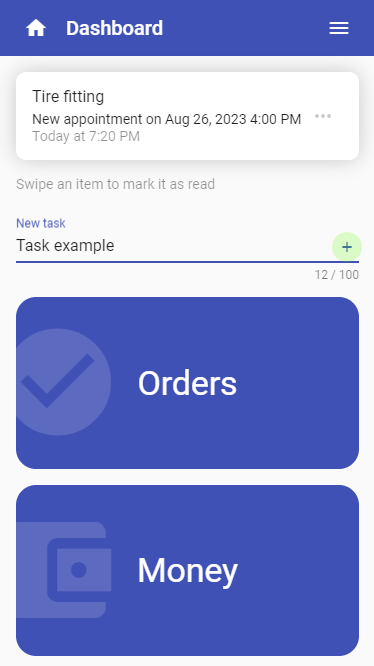
Create some task by typing a text in the "New task" field and pressing "plus" button:
In the right top corner of your task you'll see the button with three dots. It's called "actions button" and opens a menu containing some actions upon the task:
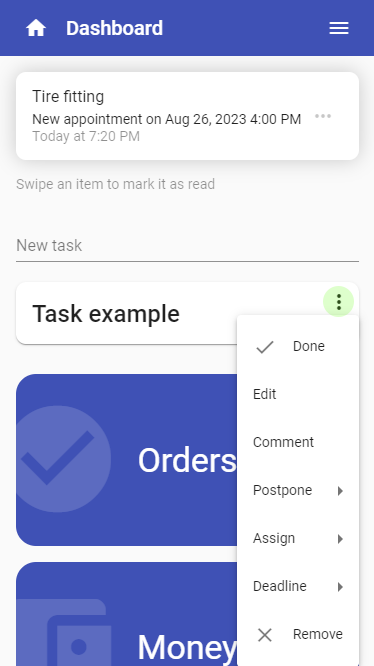
If you "postpone" the task it will disappear from the Dashboard and get back after chosen time (for example, tomorrow).
The "assign" feature allows you to assign the task to someone else. You should add your colleagues to "Users" to be able to do that (Users section can be found in the main menu).
Orders
Orders is usually the main and most important Upp tool you'll work with. Here you can manage your clients and deals.
In Upp no need to create a client — you add a deal right away. Client constant data (for example, name and address) will be replicated from one deal to another automatically. Each time the "client" is identified by either phone number (private person) or legal entity ID (corporate client). So when you create a deal for existing client you don’t have to fill out all data — just phone number or company ID.
There can be two main states of a deal:
- Lead (potential deal)
- Order (confirmed deal)
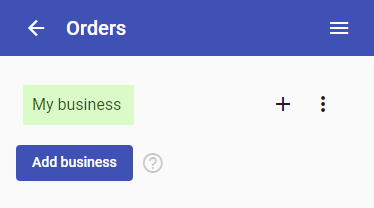
To access the list of leads and orders, tap Orders in the main menu:

And press your "business" name:
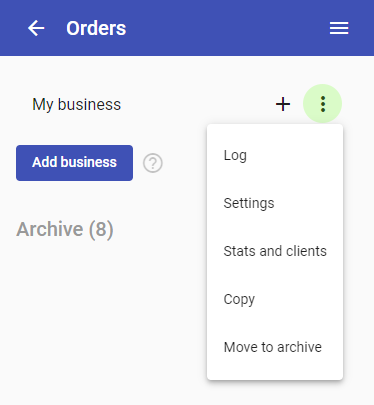
To view statistics and download clients database, use the actions menu:
The lead
Leads are potential deals. For example, if your barbershop gets new online booking, it's a lead, because there is no guarantee that the client will arrive at the appointed time. Lead state can also be used in long-term sales, when client delays the decision of buying your product.
Now let's create a lead.
Press the "plus" button next to your "business" name:
Fill in all required fields and press "Add lead" button:
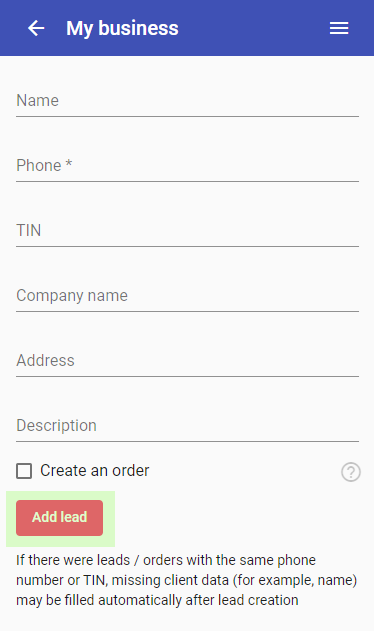
You may have "Create an order" option which is initially checked — please, uncheck it.
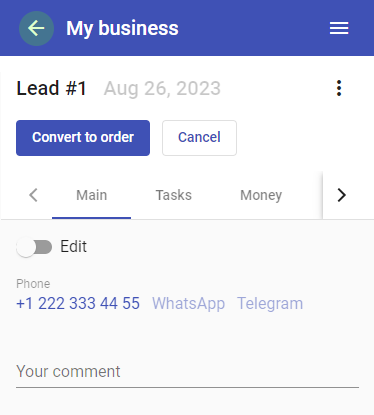
Now you are viewing lead details page. Here you can edit lead data by turning the "Edit" switch on:
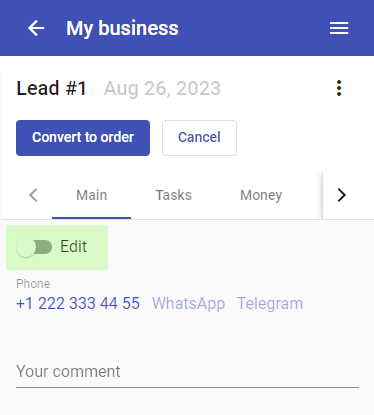
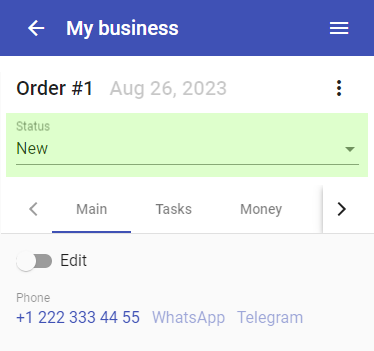
You may also see some tabs on the top:
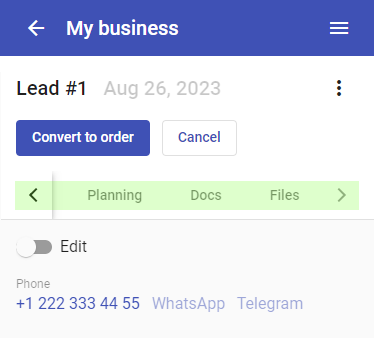
- Tasks tab allows you to add todos and memos to the lead
- Money tab is used for financial accounting, for instance, you can add prepayment transaction here
- Planning tab is used for adding the lead to some schedule
- Docs tab can be used to issue documents (for example, prepayment invoice)
- Files tab can be used for uploads (photos and other files)
- History tab may contain the list of previous leads and orders
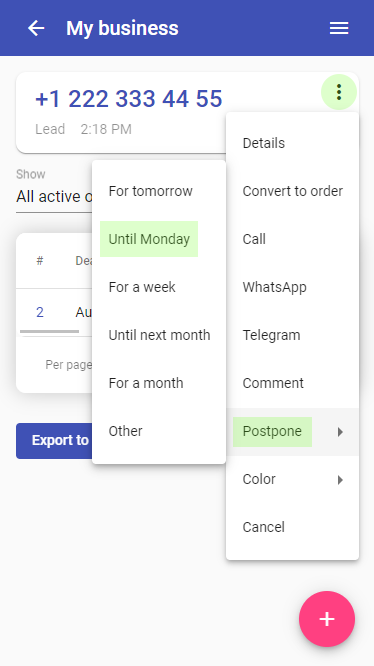
And don't forget the actions button in the right top corner:

Now press the "back" arrow in the left top corner:
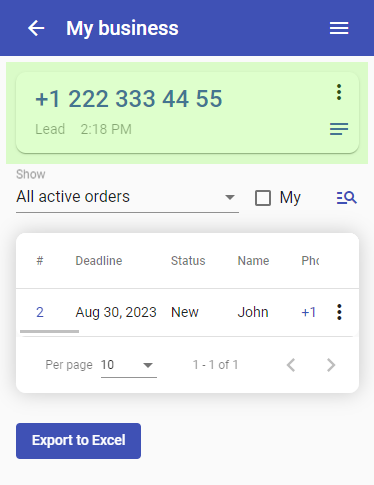
You'll get to the list of orders. There is also your lead card above the orders table:
Let’s explore the "postpone" feature. Imagine you try to sell some product, but the client asks you to call him back on Monday. Open your lead actions menu and select "Postpone" > "Until Monday":
The lead card will disappear:
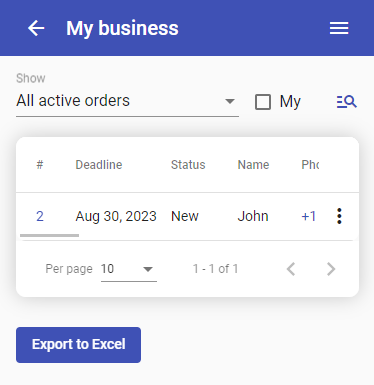
It will be shown above the orders list again on Monday.
So, the main goal when working with leads is to make them all disappear from above the orders list. If lead card is shown — it means you have to get in touch with the client and either...
- Postpone the lead once again
- Cancel it
- Convert it to the order
Here are some examples of lead lifecycle:
- First talk > Lead created > Postponed > Second talk > Cancelled
- First talk > Lead created > Postponed > Second talk > Postponed > Third talk > Order created
- Website form filled > Lead created automatically > First talk > Postponed > Second talk > Order created
- Website form filled > Lead created automatically > First talk > Cancelled
- Online appointment made > Lead created automatically and postponed > Client arrived > Order created
- Online appointment made > Lead created automatically and postponed > Client not arrived > Cancelled
The order
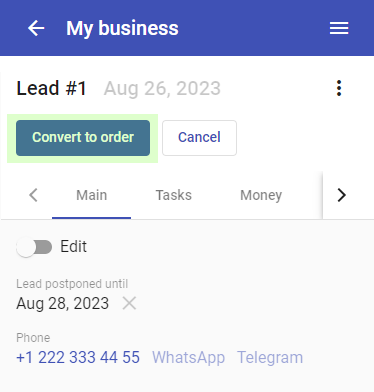
Now let's convert our lead to the order. First, you need to find your postponed lead. To do that, please, choose the "Active leads" option in the "Show" search field and press your lead number:

You'll get back to the lead details page. Press the "Covert to order" button:
Now your lead is converted to the order and new "Status" field is shown:
The list of statuses may differ depending on your business needs. Status change may be accompanied by sending some automatic notification to the client. For instance, if you set order status to "Delivery", Upp may send SMS and / or email to the client containing courier details and delivery time.
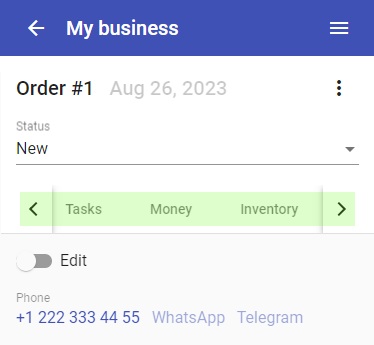
Under the status field you may have some tabs:
- Tasks tab allows you to add todos and memos to the order
- Money tab is used for order payments and expenses
- Inventory tab is used for stock updates (when you sell goods)
- Planning tab is used for adding the order to some schedule (for instance, to your courier deliveries schedule)
- Docs tab can be used to issue documents (for example, invoice or contract)
- Files tab can be used for uploads (photos and other files)
- History tab may contain the list of previous leads and orders from the client
Orders lifecycle can be very diversive and depends on your business. Here are some examples:
- Created > Stock updated > Status changed to "Delivery" > Payment received > Finished
- Created > Invoice created > Prepayment received > Status changed to "In progress" > Payment received > Finished
- Created > Added to schedule > Finished
- Created > Work result photo uploaded > Payment received > Expenses paid > Finished
- Created > Payment received > Payment returned > Cancelled
The main idea of managing orders is to record every significant change in Upp like it's a notepad. For instance, you received money from the client. Open his order and add this information in Money tab:
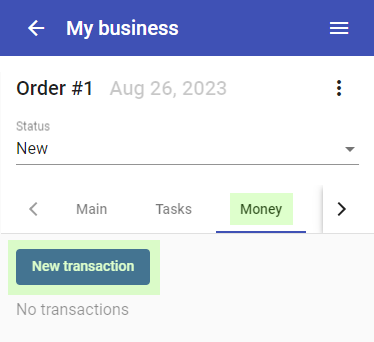
If you spent some money on order processing (paid for delivery, paid the executor, etc.) — add these expenses in the Money tab as well:
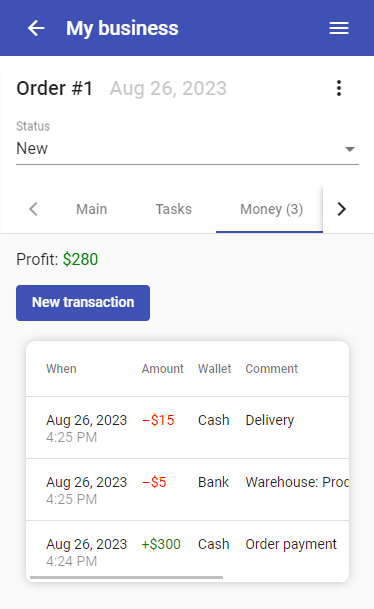
All updates made in Money, Inventory, Planning and Docs tabs also affect corresponding Upp instruments. For example, order money transactions will be shown in corresponding wallet transaction history and change it's balance.
Money
Financial accounting in Upp is made with "wallets". Each wallet stores income and expense operations of some kind. For instance, one wallet can be used for cash and another one for cashless operations. If cash is distributed within the team, there can be separate wallets for each team member.
Navigate to wallets list by selecting "Money" in the main menu:

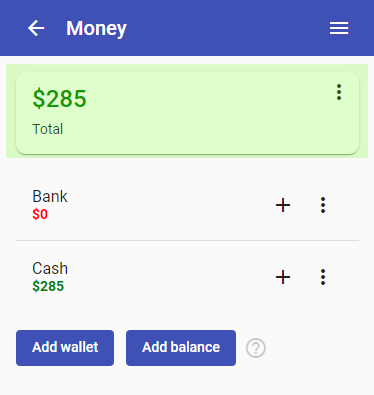
You can see the list of wallets and their balances:
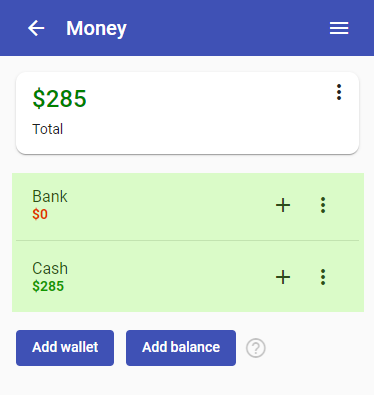
Above the list there can be a "balance" card — it shows the sum of several wallets:
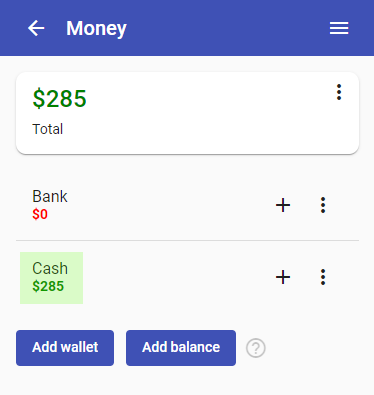
You can view the list of transactions by pressing the wallet name:
Some transactions may be related to Orders. You can access the order details by pressing the link under transaction description:
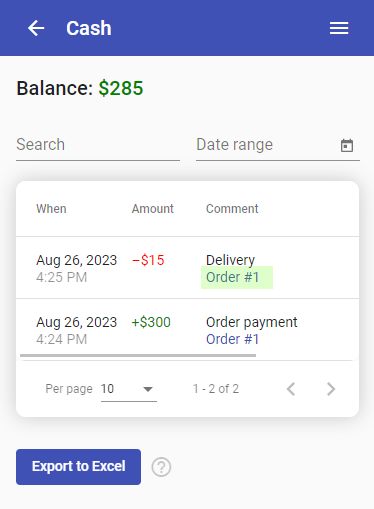
Usually most of transactions are related to orders and represent income and expenses of your deals. They are made from order details page.
"Direct" transactions (not related to orders) are used for some general expenses: office rental cost, advertising, etc. Such transactions must be added to the wallet directly. You can add new transaction by pressing the "plus" button next to the wallet name:

Inventory
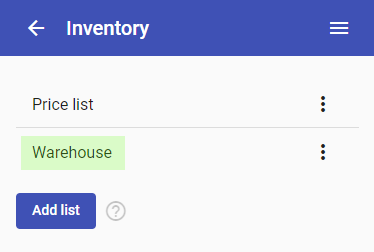
Inventory tool can be used to store price lists and warehouse stock data. To take a look at Upp Inventory "lists", please, proceed to the Inventory section in the main menu:
There you'll see the list of your "lists". Tap on the name of the list to view its contents:
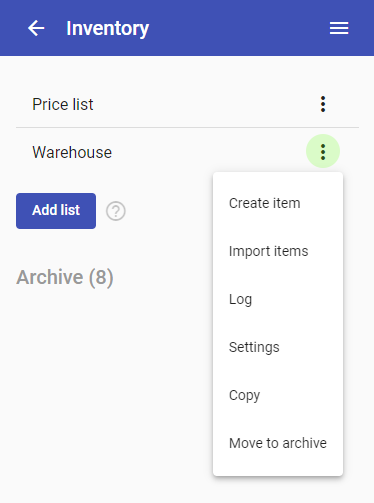
You can add new item or import many items at once by accessing the list actions menu:
There can be two types of items:
- Service / price list item
- Product
The "service" has no cost and stock information:
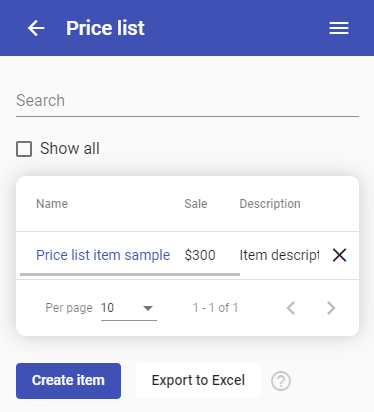
While the "product" has:
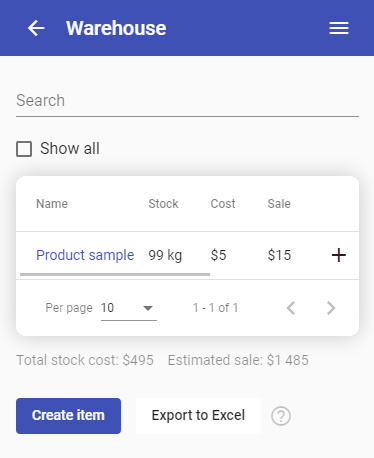
You can add or write-off some amount of product by pressing the "plus" button in the table row:

Stock transactions list can be accessed by pressing on the product name:
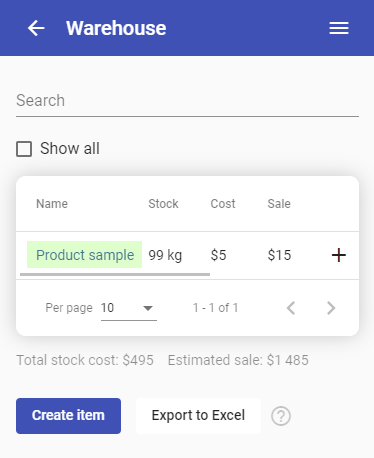
Some transactions may be related to Orders and you can navigate to the order by pressing the link in transaction description:
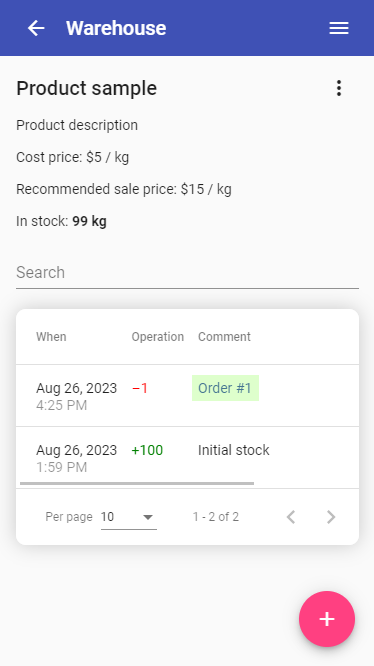
Usually most of warehouse stock updates are related to orders and made from order details page. However you can add new transaction directly (for example, when you get new arrivals).
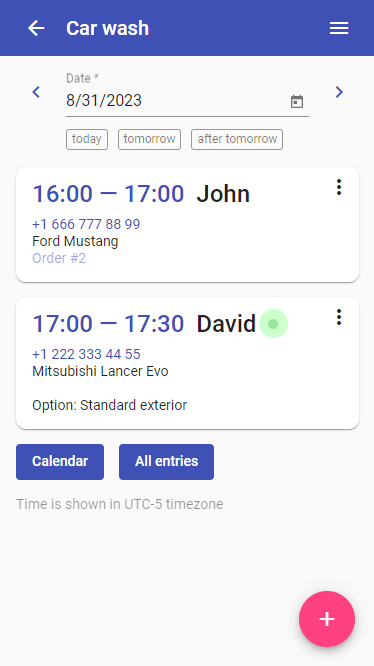
Planning
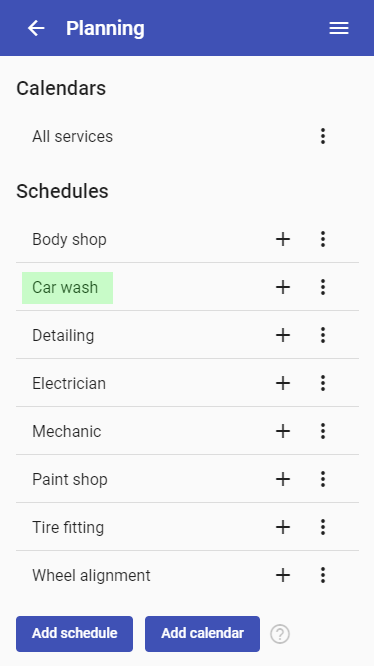
Planning in Upp is represented by "schedules". A "schedule" stores "entries": bookings or appointments. You can create separate schedules for each of your services / branches / employees and combine them in "calendars" to display simultaneously.
Open the Planning section in the main menu:

There you'll see the list of your schedules and calendars (if present). You can view schedule entries by pressing on its name:
You'll get the list of upcoming entries for today. Some entries may be linked to Orders and you can open order details by pressing the link:

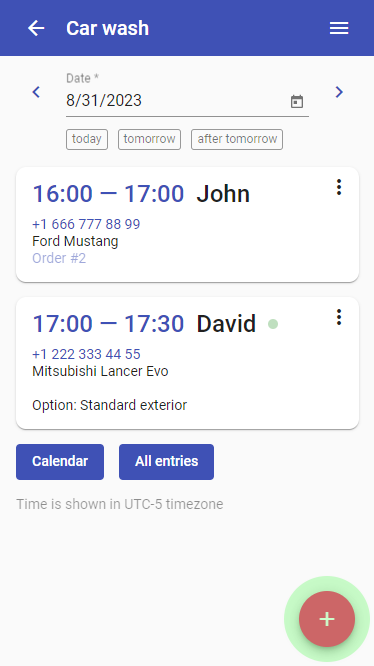
Online bookings / appointments are marked with the green dot next to the client name:
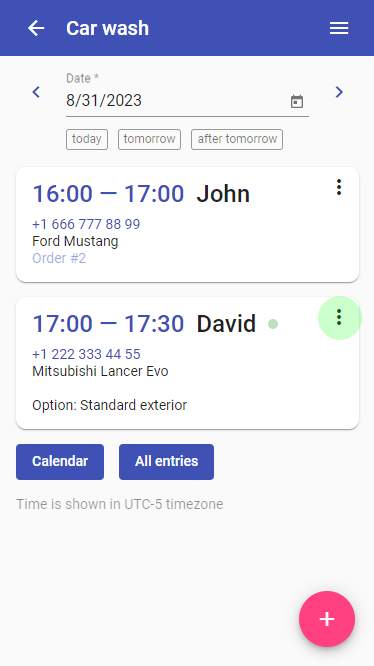
New entry can be created by pressing the "plus" button:
Schedules are usually working together with Orders. There are three different ways of working with bookings / appointments:
- Create a lead or an order > Add it to schedule from the "Planning" tab on order details page
- Get online bookings, creating schedule entry and a lead simultaneously
- Create schedule entry (manually or automatically) > Create an order for it later (when client arrives)
If the schedule entry isn't related to any order, you can create an order using its actions menu:

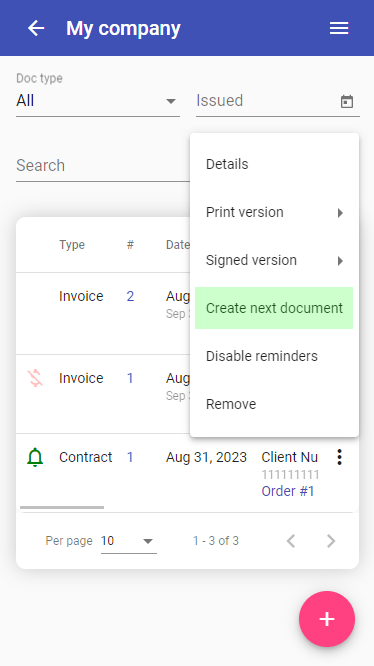
Docs
Documents in Upp are stored in "companies". Each company represents a legal entity.
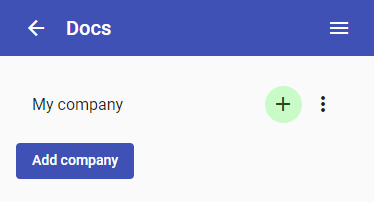
Open the Docs section in the main menu to view your companies:
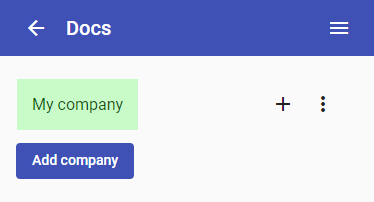
In the list of companies press the "plus" button to add new document:
Or press the company name to access all its documents:
Documents are usually created within Orders (using "Docs" tab on order details page). You can access the order related to a document by pressing the link:

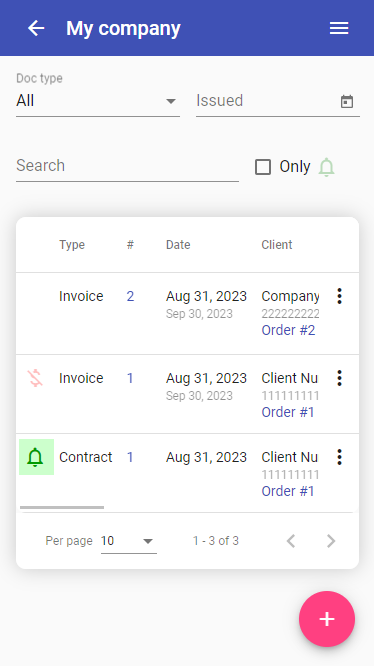
Some documents may have additional icons. Unpaid invoices are marked with crossed dollar sign:
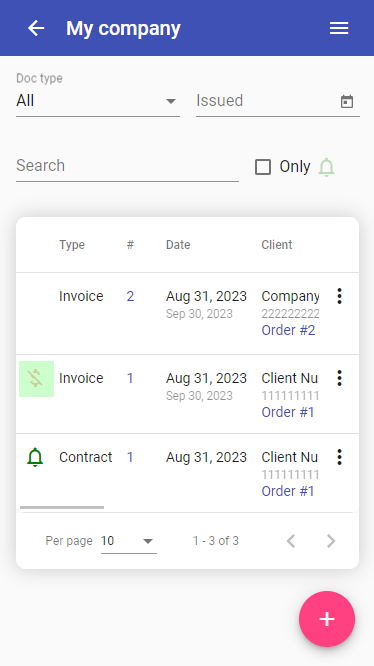
The bell sign means the document has active reminders:
Reminders depend on the company settings. For example, you can remind your clients to return signed copies of your contracts.
With the help of document actions menu you can turn off its reminders or get the link to a document:
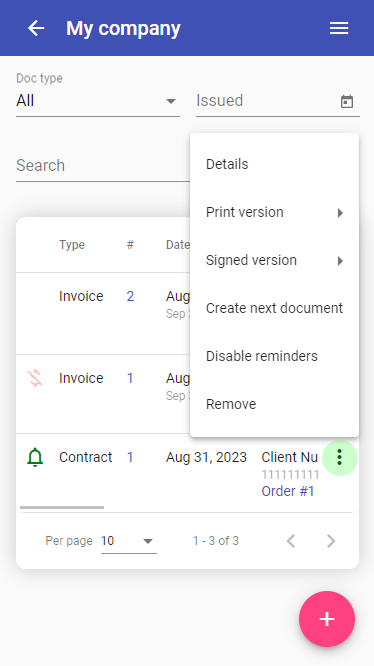
Documents are usually created in "print" and "signed" versions. The second one goes with the images of signature and seal.
You may be also interested in "Create next document" feature. It allows you to create new document using all data from some other one. For example, you can create an invoice on the basis of the contract: